Google Analytics is a powerful tool for your blog that will help you monitor your traffic, identify blogging opportunities, and identify which posts, pins, and pages are working best. Setting up Google Analytics is quick and easy! Follow this quick tutorial and you’ll be up and running in minutes.
1. Create your GOOGLE ANALYTICS ACCOUNT
Regardless of your platform, the first thing you’ll need to do is set up your Google Analytics account. Go to Google Analytics, and sign in with your Google Account.
If you’ve never set up Google Analytics, click the blue “set up for free” button. (If you’re taken to the Analytics dashboard, you’ve probably already done this, so you can skip to step 2.)
Give your account a name. I would suggest using something other than just your blog name, because it helps prevent confusion later. It really doesn’t matter what you name it though. Mine is called Kristen’s Analytics. Leave all the default checkboxes checked, and click Next.
You’re measuring a website, so choose that and click Next again.
Here’s where you’ll enter your blog info. Add the name of your site and the full URL. Be sure to choose whether your site is http or https. Choose your industry and time zone and click Create.
You’ll see a popup with Google’s terms of service. Go ahead and accept those. Then you may see some email communication options. Select the options you prefer.
2. Install Google Analytics on your Site
Setting up Google Analytics on Blogger
FIND YOUR GOOGLE ANALYTICS TRACKING ID
From your Google Analytics dashboard, click Admin at the bottom left. You should now see your account and property listed on the screen. (If you skipped to this step and don’t see it, click Create Property or Create Account and follow Step 1 above.)
In the middle (Property) column, be sure you see your website name at the top and click Tracking Info, then Tracking Code. Copy the Tracking ID at the top. It should look something like UA-#######-#.
ADD YOUR TRACKING ID TO BLOGGER
NEW Blogger Interface: On Blogger, click Settings. In the Basic section at the top, click on Google Analytics Property ID. Paste your tracking ID in and click save.
OLD Blogger Interface: On Blogger, click Settings > Other. At the very bottom, paste the tracking ID in where it says Google Analytics Property ID. Click save.
Setting Up Google Analytics on WordPress
Copy the Tracking Code
From your Google Analytics dashboard, click Admin at the bottom left. You should now see your account and property listed on the screen. (If you skipped to this step and don’t see it, click Create Property or Create Account and follow Step 1 above.)
In the middle (Property) column, be sure you see your website name at the top and click Tracking Info, then Tracking Code. Copy the entire section of code inside the Global Site Tag box in the middle of the page.
Add Your Tracking Code to WordPress
There are several ways to add your Google Analytics to WordPress. You can certainly use one of the many analytics plugins if you want. I recommend against it simply because every plugin you add contributes to your site’s overall size & speed. Instead, I’m going to share 2 ways to add the Google Analytics code without an analytics plugin.
Option 1: Add it in the Customizer
This option should work for anyone on the Genesis Framework. If you’re not sure if that’s you, just try it. If you don’t see the right options, move on to option 2.
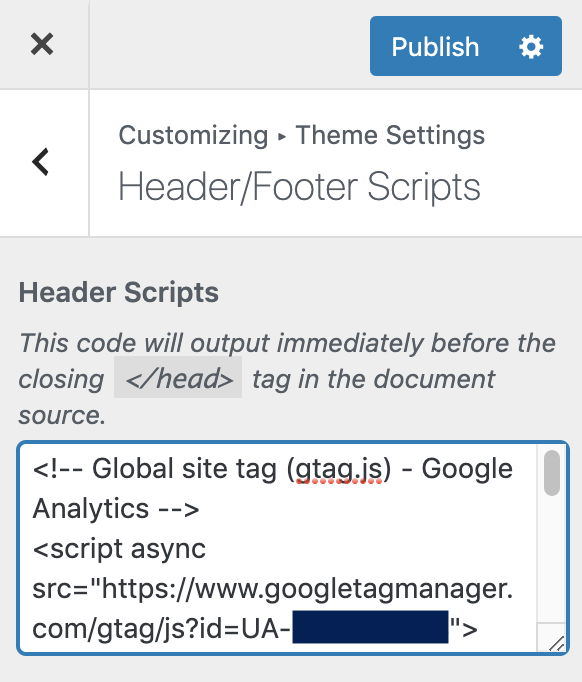
Go to Appearance > Customize > Theme Settings > Header/Footer Scripts. Paste the provided code in the Header Scripts section. Click Publish.

Option 2: Elementor Pro
If you already have Elementor Pro, you can add custom code to it. (If you don’t have Elementor Pro, I love it, but I wouldn’t recommend purchasing it for this feature alone – just move to option 3.)
Go to Elementor > Custom Code and click Add New. In the screen that appears, paste in your Google Analytics code and click Publish. You’ll get a popup asking where you want this code displayed, and Entire Site should already be selected for you. Click Save & Close.

Option 3: Insert Headers & Footers
Ok, you caught me, this is a plugin. The reason I recommend this over an Analytics plugin is that it’s very lightweight and it will be useful for lots of things other than just this one use. More on that in a minute.
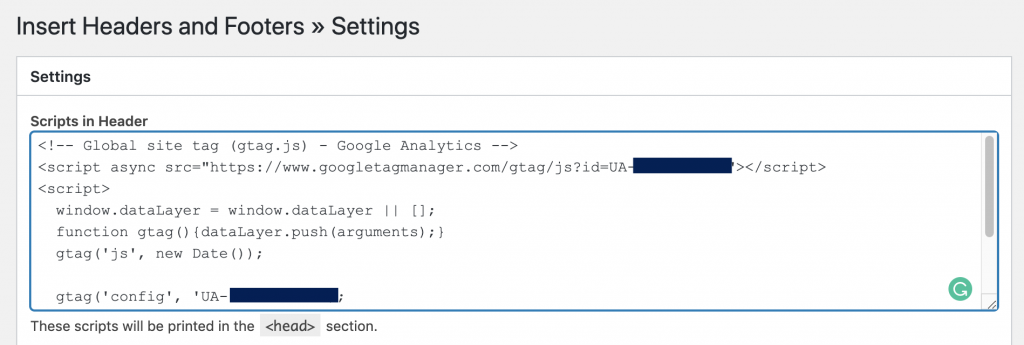
Go to Plugins > Add New and search for Insert Headers and Footers. Install and activate it. Then go to Settings > Insert Headers and Footers. Paste the provided code in the Scripts in Header section. Click Save.

Here’s what’s good about doing it this way:
Regardless of which option you use, you can also insert other code snippets in the same place. If you need to add additional code, just hit enter, leave a blank line, and add whatever you need.
This is where your Pinterest verification code and the Facebook pixel code go, among other things. So if you have plugins for those, you might be able to get rid of them too!
3. Check to make sure it’s working
Once you have Google Analytics installed, you’ll want to double check that it’s working on your site. Fortunately this is super easy to do with an extension for Google Chrome.

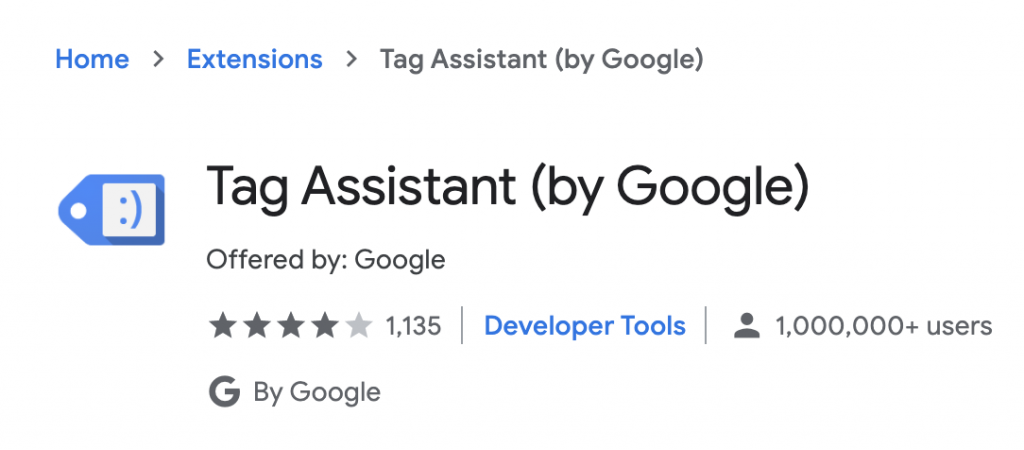
Just add the Google Tag Assistant extension to Chrome and go to any page on your site. Look for the little blue tag in your Chrome Extensions. Click on it. You may need to click Enable and then refresh the page in order to see your tracking code. Once it reloads, you should see your tracking ID (looks like UA-#######-#), and you’ll know you’re good to go!
Keep in mind that Google Analytics only starts tracking your site once you add the code, so you’ll need to wait a couple of weeks or more to see any valuable data.


