
You can use a custom domain with your Blogger blog to change your URL from yourblog.blogspot.com to www.yourblog.com. The process is pretty simple, but it can be tough to find all the information you need in one place.
Once you purchase your domain name, you will need to set it up to point to your blog. Here’s how to do it with GoDaddy. If you use someone else, the basic steps will be the same, but it might look different depending on your domain registrar.
1. Purchase your domain.
If you haven’t purchased your domain yet, you can create an account and do so at one of many domain registrars online. My personal favorite is GoDaddy. This referral link includes an offer for $0.99 for your first year.
2. Add your domain to Blogger.
Log in to the Blogger dashboard. Go to Settings and look for Publishing. Click Setup a 3rd party URL for your blog. Type your custom domain, including the www and click save. You’ll get an error message that looks like this:
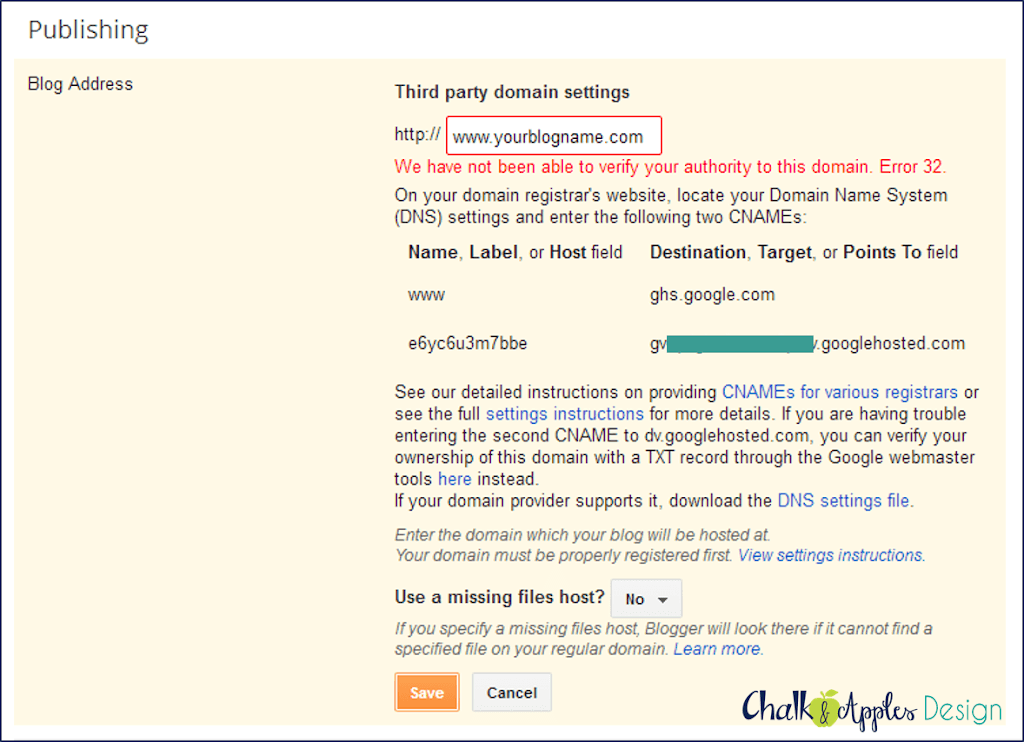
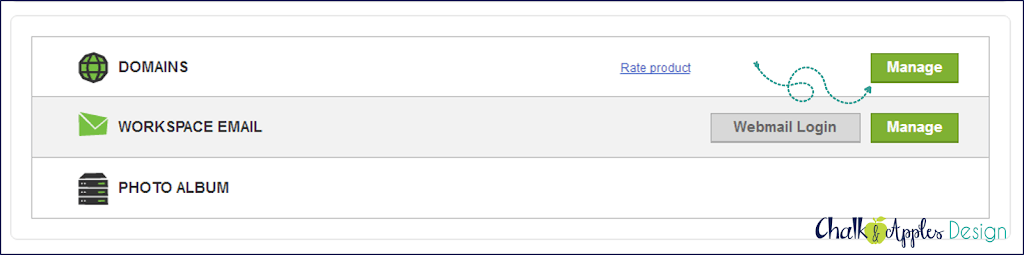
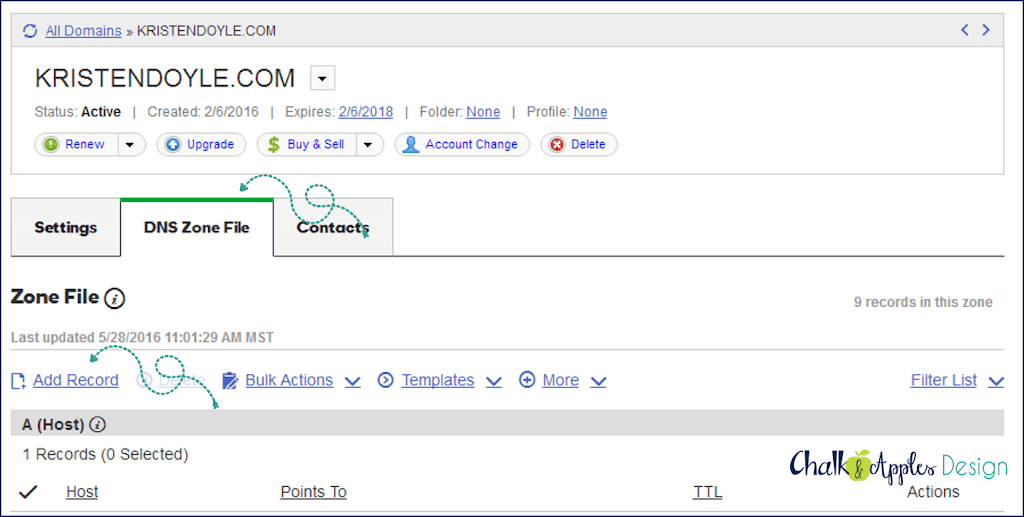
3. Update your DNS settings in GoDaddy
4. Set up for redirect to “www”
You know how most sites are technically www.something, but you don’t have to type the www to get to the site? That’s not automatic. It’s something you need to set up. And you definitely want to do it! Think about it… How many times do you type www.sitename.com versus just typing sitename.com? It’s easy to set up, but this is a must do!
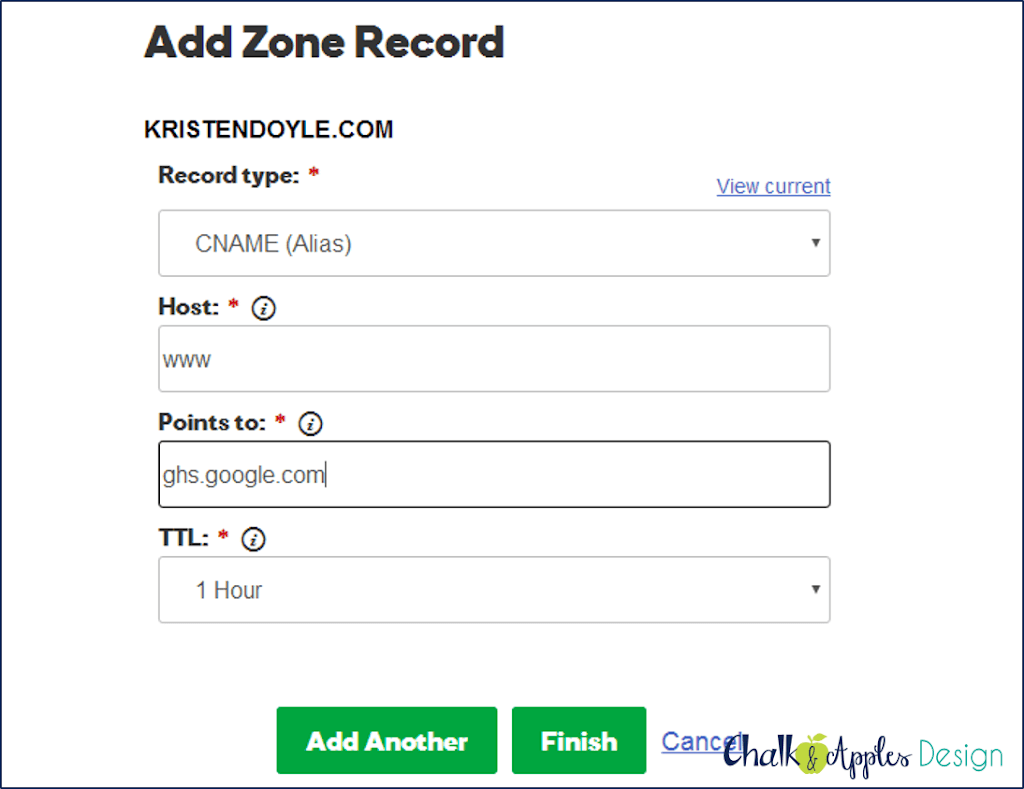
You should still be in the “Add a Zone Record” window on GoDaddy. Change the dropdown menu to A (Host). Add all four of the following IP addresses, one at a time, just like you added the records in step 3. The host for all of these is just the @ symbol.
- 216.239.32.21
- 216.239.34.21
- 216.239.36.21
- 216.239.38.21

Click Add Another after each one, and click Finish when you’ve added all of them.
Look at your list of A (host) records. You should see the four that you just added. If you also see one that points to 50.63.202.20, delete it using the trash can icon on the right.
4. Go back to Blogger
On your Settings page, click the edit button beside your new URL. if you see a checkbox under your URL that says “Redirect yourblog.com to www.yourblog.com,” you need to check it.
Try to save your new URL again. This time, it should save without an error. Occasionally, you will need to wait 30 minutes to an hour before it will save in Blogger without the error message. If you have trouble at first, wait a little while, and try again.
Test your link – it will usually be live almost instantly, but on rare occasion it could take anywhere from an hour to 2 days.
Not quite ready to map your domain yet? Pin this tutorial for later:


